Incy Wincy Babies – August
Welcome to Incy Wincy Babies online – where the Incinerator Gallery comes to you.
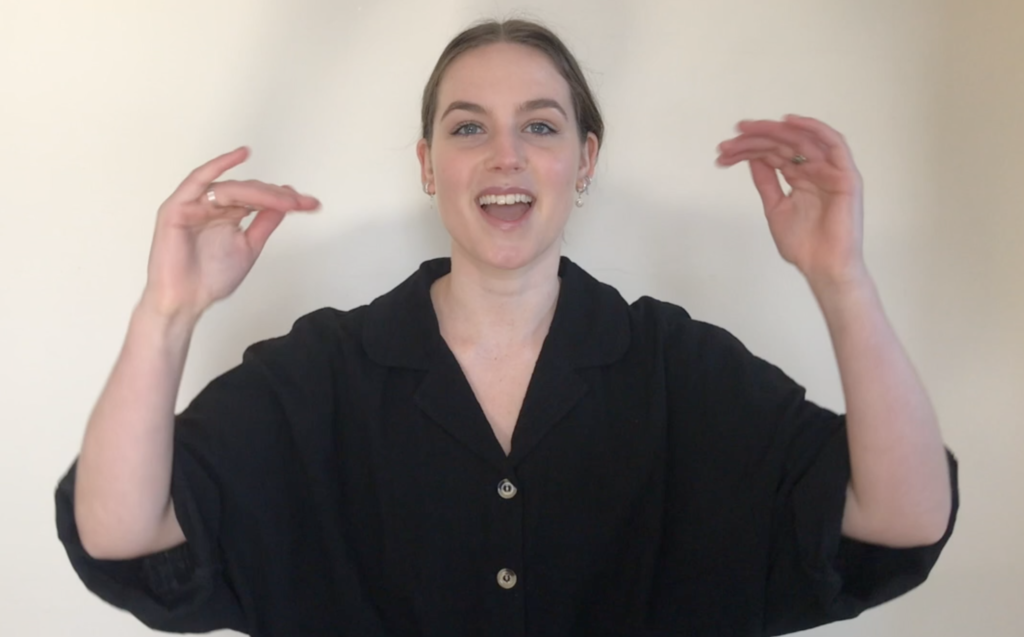
This month our Barking Spider Visual Theatre artist Laura invites you to join in this creative activity from the comfort and safety of your own home.
Please take a photo or video of your painting and share it on Instagram, Facebook, or our Facebook Group Incinerator Gallery Incy Wincy Babies.
Use the hashtag #IncineratorGallery so everyone can share just as we do during the program at Incinerator Gallery.
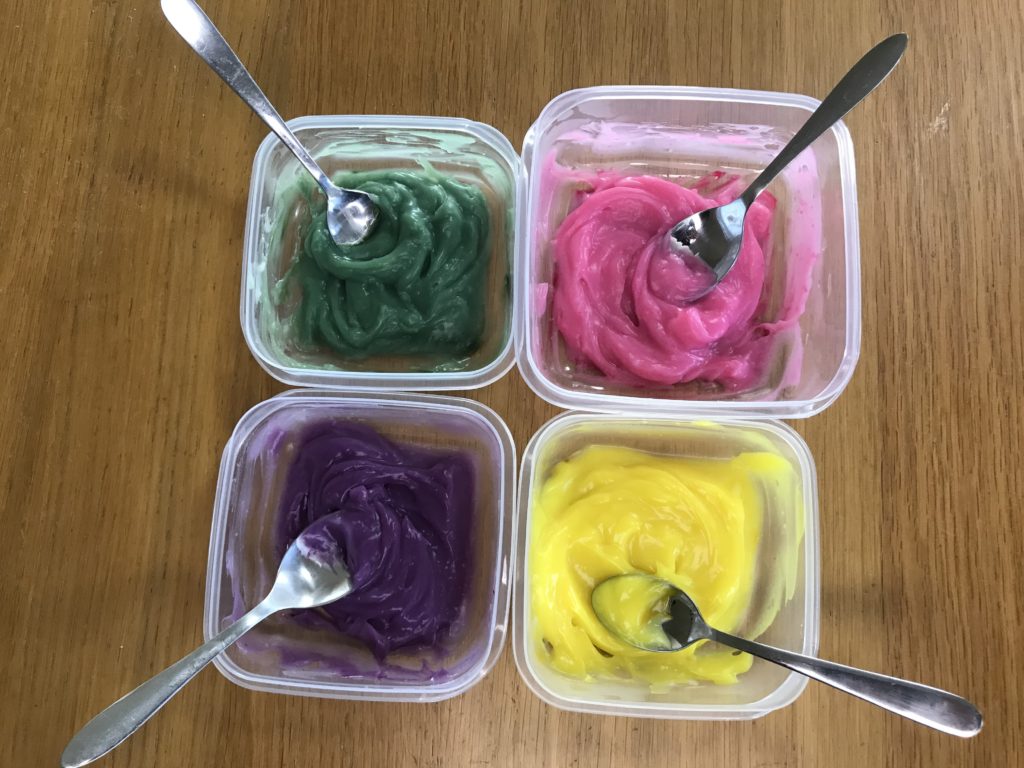
Sensory play: Home made fingerpaint
To create homemade fingerpaint you will need three ingredients:
- cornflour
- water
- food colouring
Steps:
- In a saucepan, mix four tablespoons of cornflour and enough water to make a firm paste
- Add one cup of boiling water and stir until there are no lumps and the ingredients have combined
- Place the saucepan on medium heat and continue stirring until the mixture starts to change consistency and you see some clear, jelly-like streaks
- Once you see this, take the saucepan off the heat and continue stirring. The mixture will start to thicken and should have a wonderful custard-like consistency
- Spoon the mixture into reusable containers or jars and add a couple of drops of your food colouring
Store the finger paint in the fridge for up to two weeks. If the mixture hardens from the cold, add a little hot water and stir, or leave it out of the fridge for an hour or so at room temperature before using.
Laura recommends painting on cardboard rather than paper. The heavier cardboard doesn’t get soggy or floppy from the wet paint and holds the thick paint better.
An alternative option is to use a plastic chopping board or silicon baking sheet as your canvas as it can easily be wiped.
Photograph the canvas at different stages of decoration.
Allow your baby to mix colours. Eventually they will all go a browny-grey. This is normal.
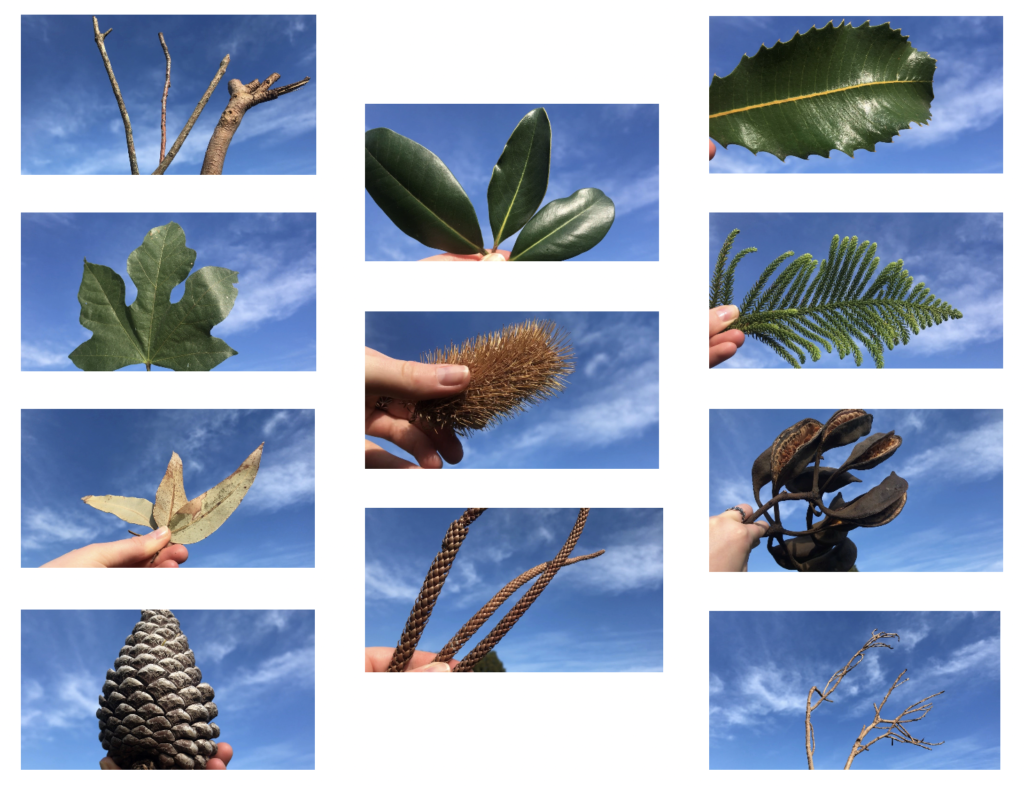
Mark making
Stamping and stencilling with natural materials
There are many wonderful materials you could use to explore mark making, stamping and stencilling in the finger paint!
Laura encourages you to be playful and creative in finding different materials with interesting shapes and textures.
Here are some examples of materials you could use:
- various leaves with different textures and shapes
- twigs and sticks in different thicknesses
- pinecones
- bottle brush
- seed pods
- shells
- pebbles and rocks
Experiment and play!
As you and your baby play with the homemade fingerpaint and materials explore:
How does the paint feel on your fingers?
What colours can you see?
How do the materials interact with the paint?
Using the materials, what shapes and patterns can be created in the paint?
Can some materials be used to create stencils or stamps with the paint?